Documentation Index
Fetch the complete documentation index at: https://retrocultmods.mintlify.app/llms.txt
Use this file to discover all available pages before exploring further.
Supported Controllers
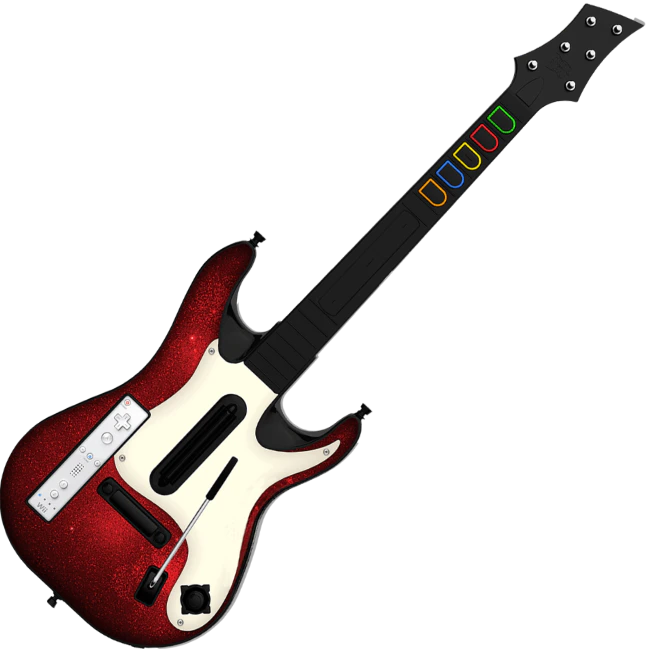
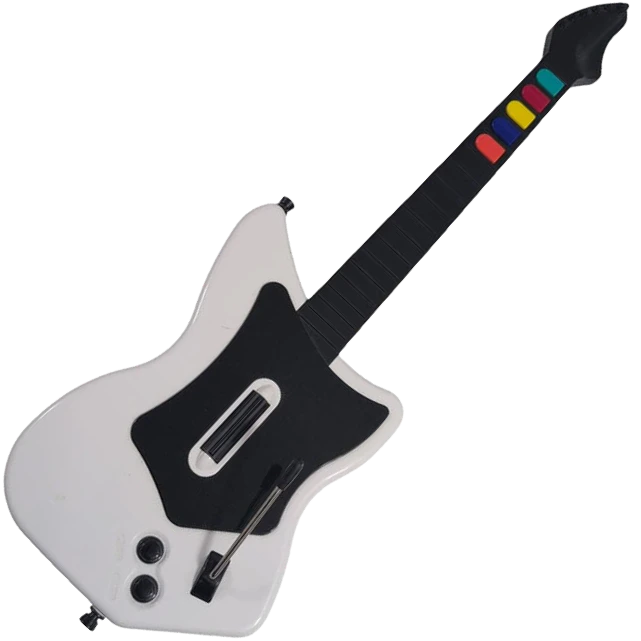
Click on the pictures to be taken to the respective guitar’s build guide!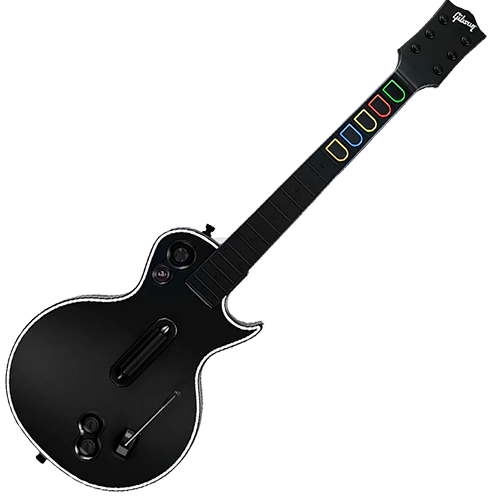
Xbox/PS Les Paul
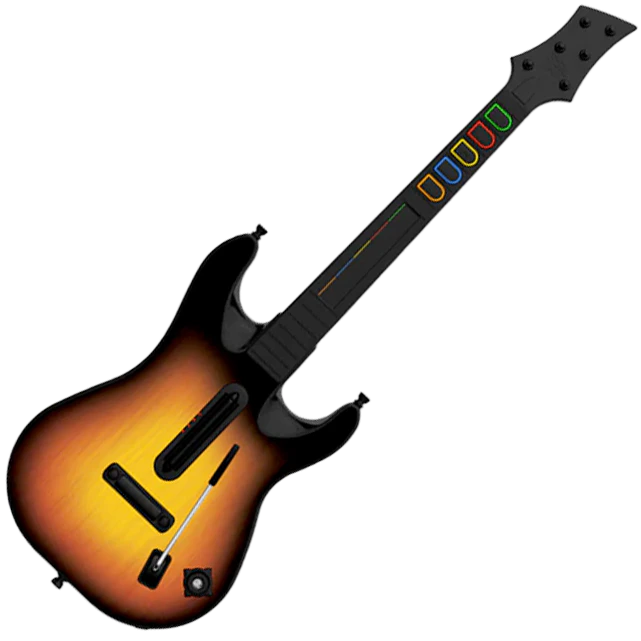
Xbox/PS Sunburst

Xbox/PS GH5
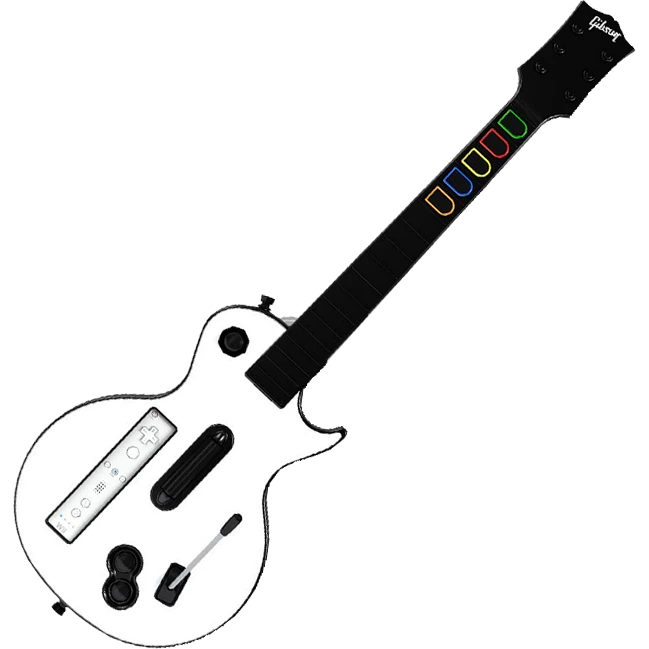
Wii Les Paul
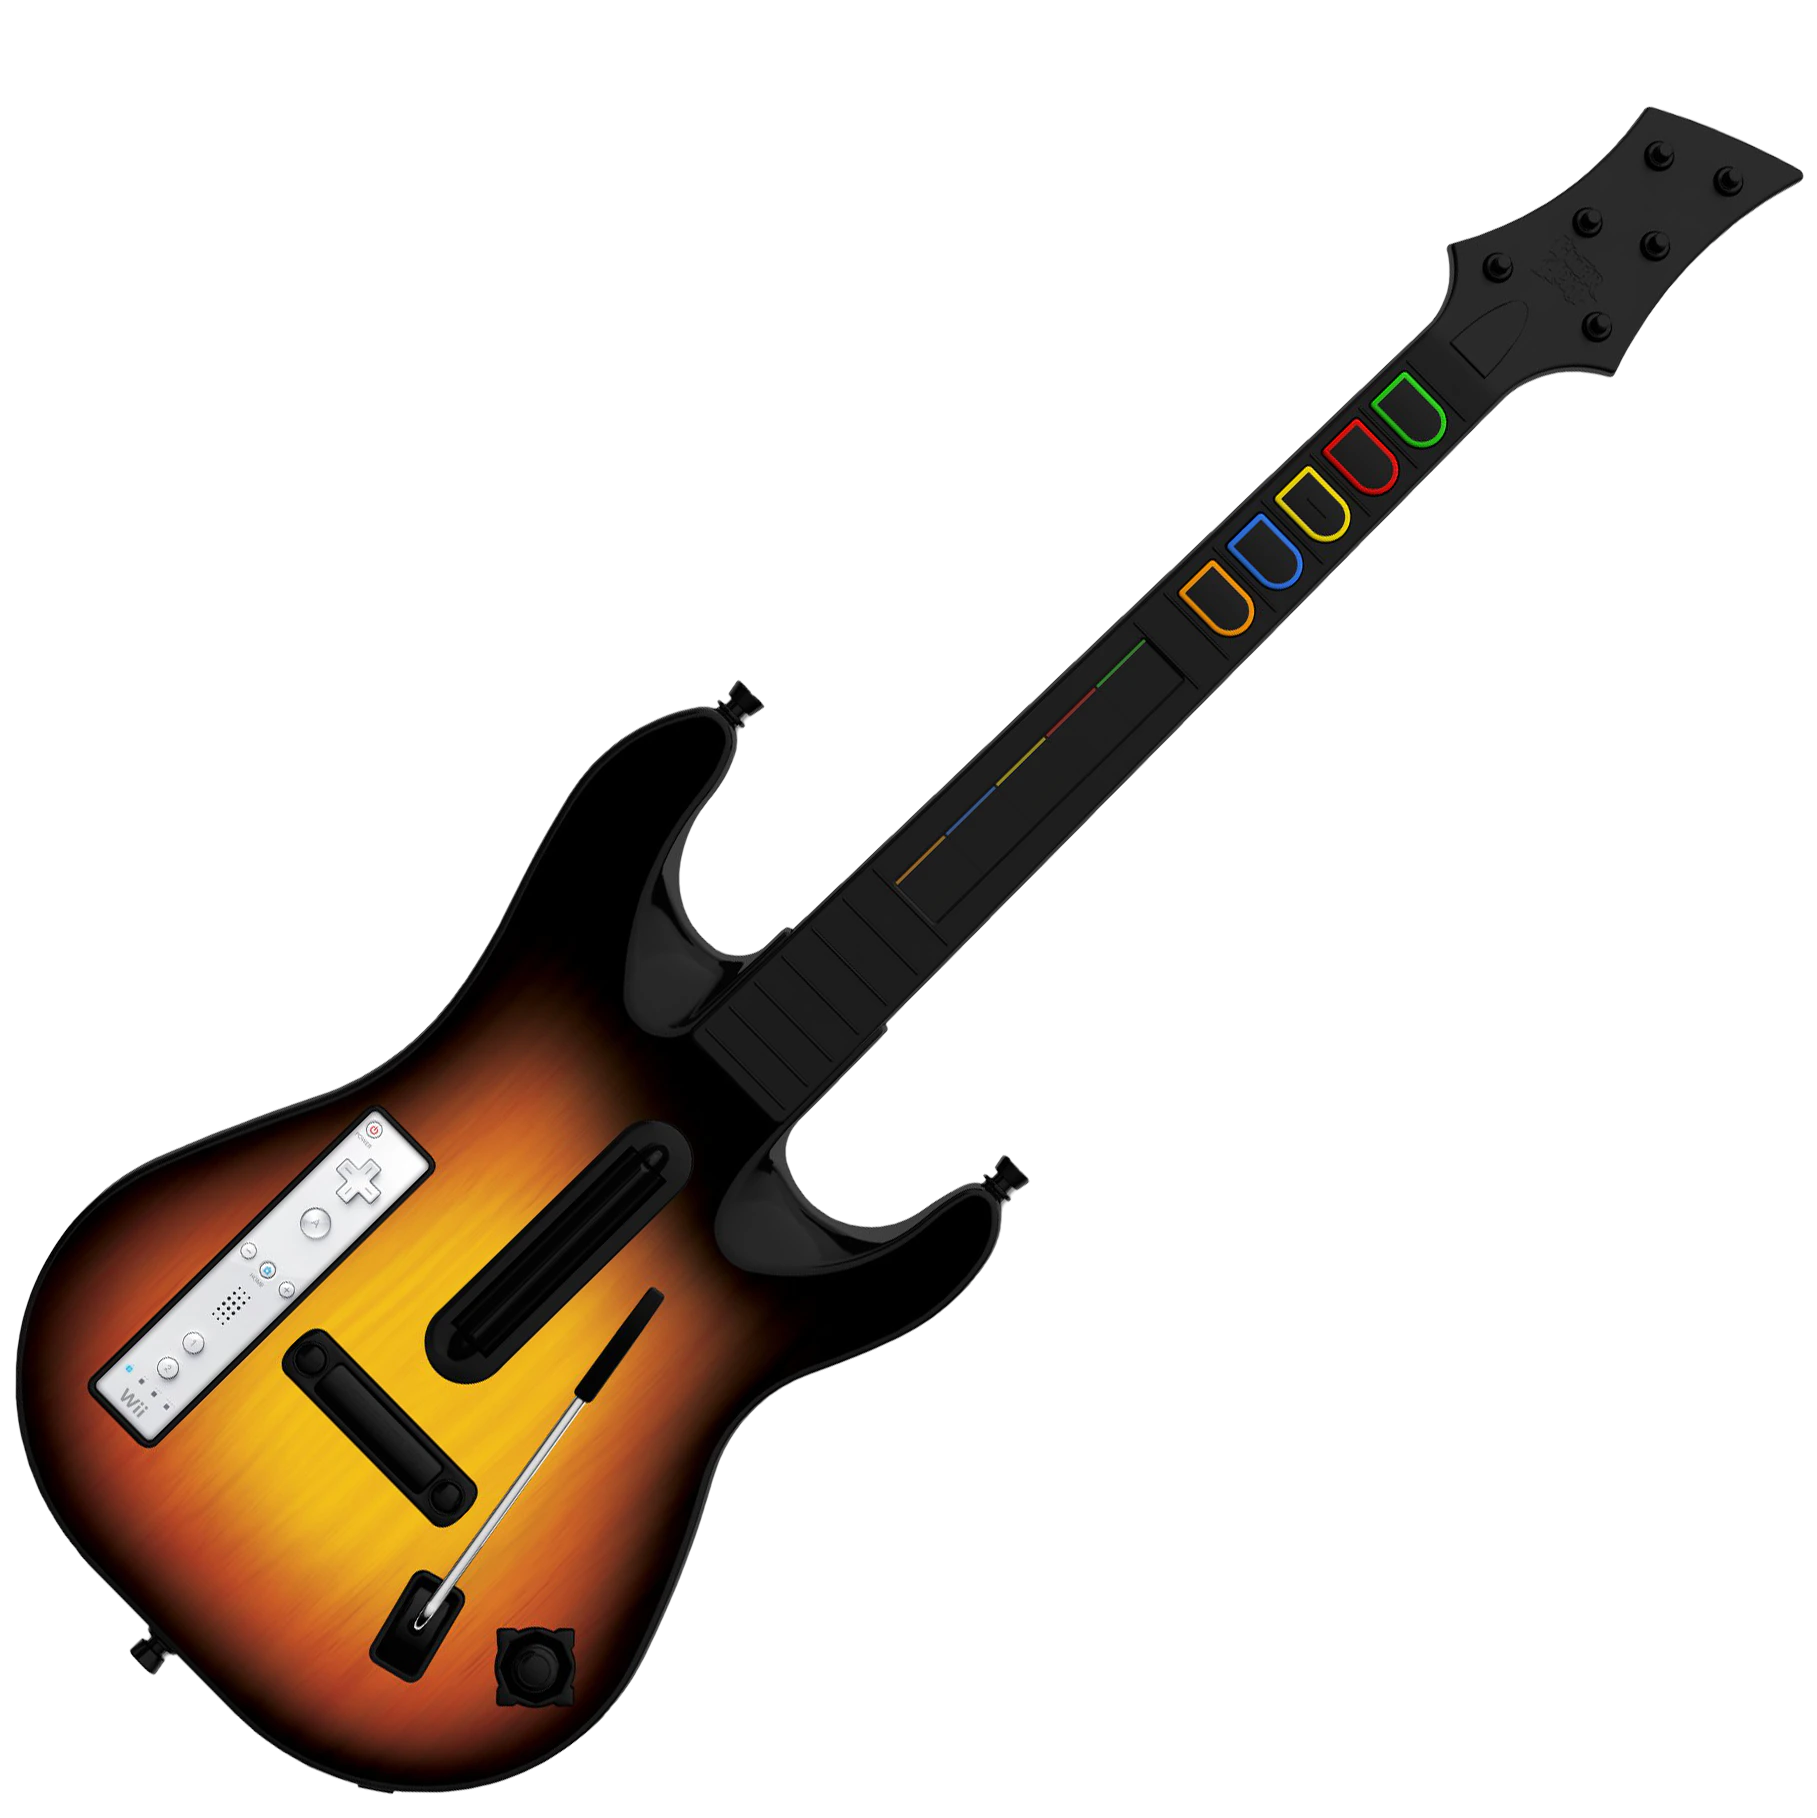
Wii Sunburst
Wii GH5
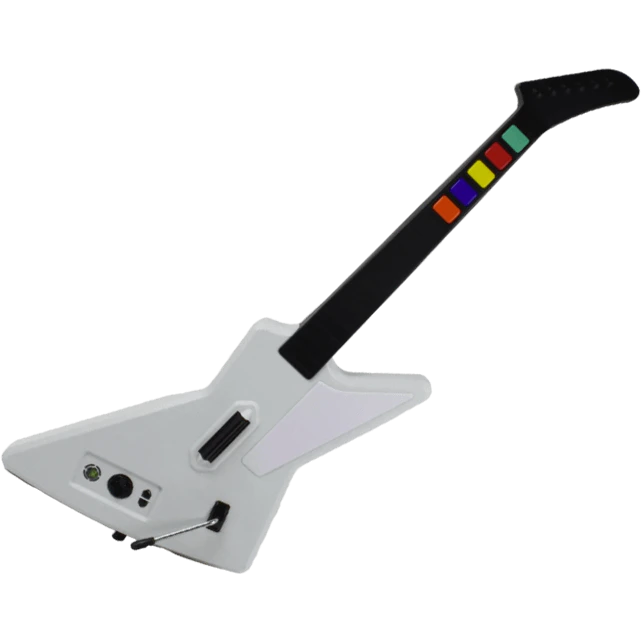
Xplorer
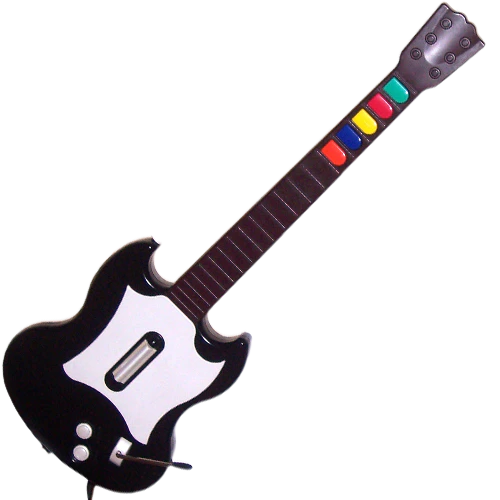
SG
MayFlash
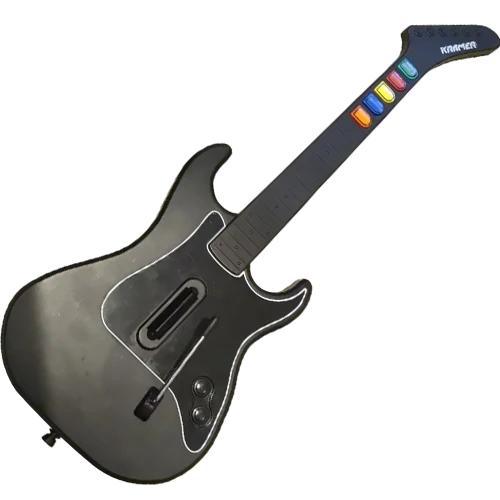
Kramer
Supported Platforms and Games
- PC
- Mac
- PlayStation 2
- PlayStation 3
- PlayStation 4/5
- Xbox 360
- Xbox One/Series
- Wii
- Switch
- Clone Hero
- YARG
- Fortnite Festival (Click here to be taken to the Fortnite Festival setup section)
- Guitar Hero 3 / BetterGH3
- Guitar Hero World Tour Definitive Edition
- Gitadora
- Emulators
- RPCS3
- PCSX2
- Dolphin
- Xenia (not tested)
Instructional Material
Authentication
Xbox One/Series (Rock Band 4)
Xbox One/Series (Rock Band 4)
To play Rock Band 4 on your Xbox with a MiniHost Adapter, you will have to authenticate the MiniHost with a licensed Xbox One or Xbox Series controller.If your controller is connected under the profile you want to use for the guitar, you’ll need to “drop out” the controller before assigning that profile to the guitar.(image)

Wait a moment, then press start on the gamepad to verify the connection is made. On the “Join” screen, a guitar player should appear.
Fortnite Festival
PC, Playstation 4/5, Xbox One/Series - Keyboard Mode
PC, Playstation 4/5, Xbox One/Series - Keyboard Mode
NOTE: EPIC HAS CHANGED A SETTING IN FORTNITE THAT HIDES PRO MODES NORMALLY. YOU WILL WANT TO ADJUST THIS TO ALWAYS HAVE PRO MODES SHOWING. TO FIX THIS:GO TO Settings > GAME > scroll to bottom > change “Always Display Pro Parts” to ON.
Have fun!
- 1-5 for frets
- Right Ctrl & Right Shift for strum
- Forward Slash (/) for whammy
- Page Down for overdrive
Have fun!
Nintendo Switch
Nintendo Switch
NOTE: You will have to switch between two modes while navigating and playing, so be ready to do that often.MODE SWITCH BUTTON COMBO:
You want your MiniHost Adapter to be on the Default (GH Guitar) preset. If you have changed yours to be something different, please download the latest RCM Programming Tool and factory reset it back to Default. You will have to calibrate your whammy (and tilt if needed).
Turn on your Nintendo Switch and plug your adapter/guitar in! It should be able to navigate the NS menu immediately. If not, unplug and plug in the adapter/guitar again.
Open your game settings, then switch to the GAME tab. Scroll to the bottom and switch the “ALWAYS DISPLAY PRO PARTS” to ON.
Load into Fortnite Festival Main Stage, then select your songs. Once you ready up, HOLD YELLOW then tap START. Your guitar should then function to for play!
Calibration
Tilt Calibration
Tilt Calibration


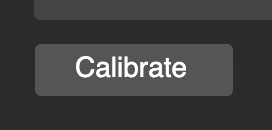
Posture the guitar in your normal playing position, then click Next. After that, posture the guitar in the height that you would like for tilt to activate and hold it in that position while clicking Next again. Your tilt should now be calibrated!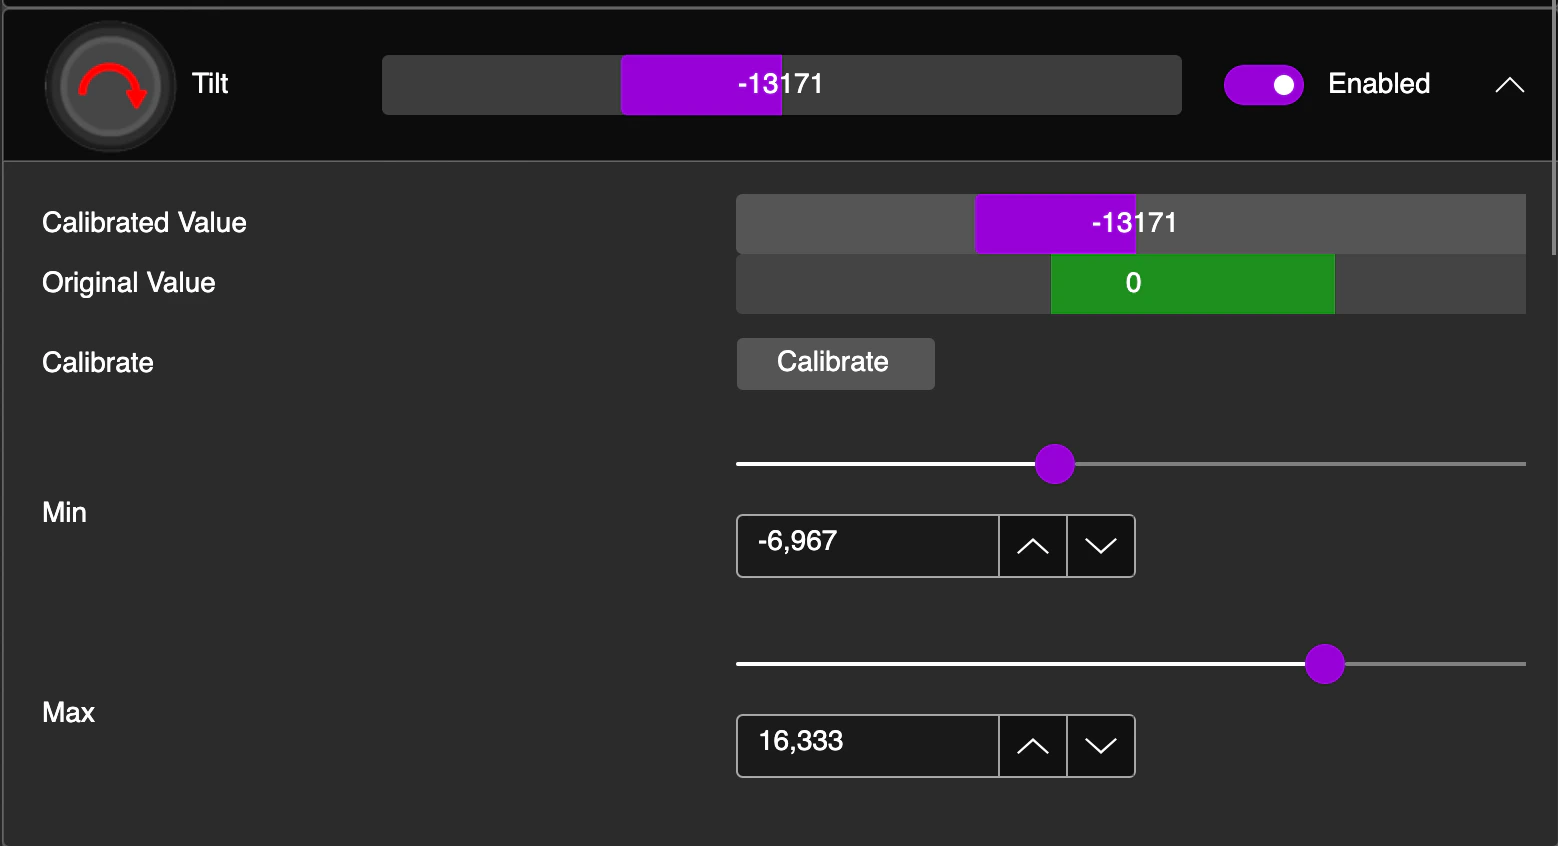
Whammy Calibration
Whammy Calibration
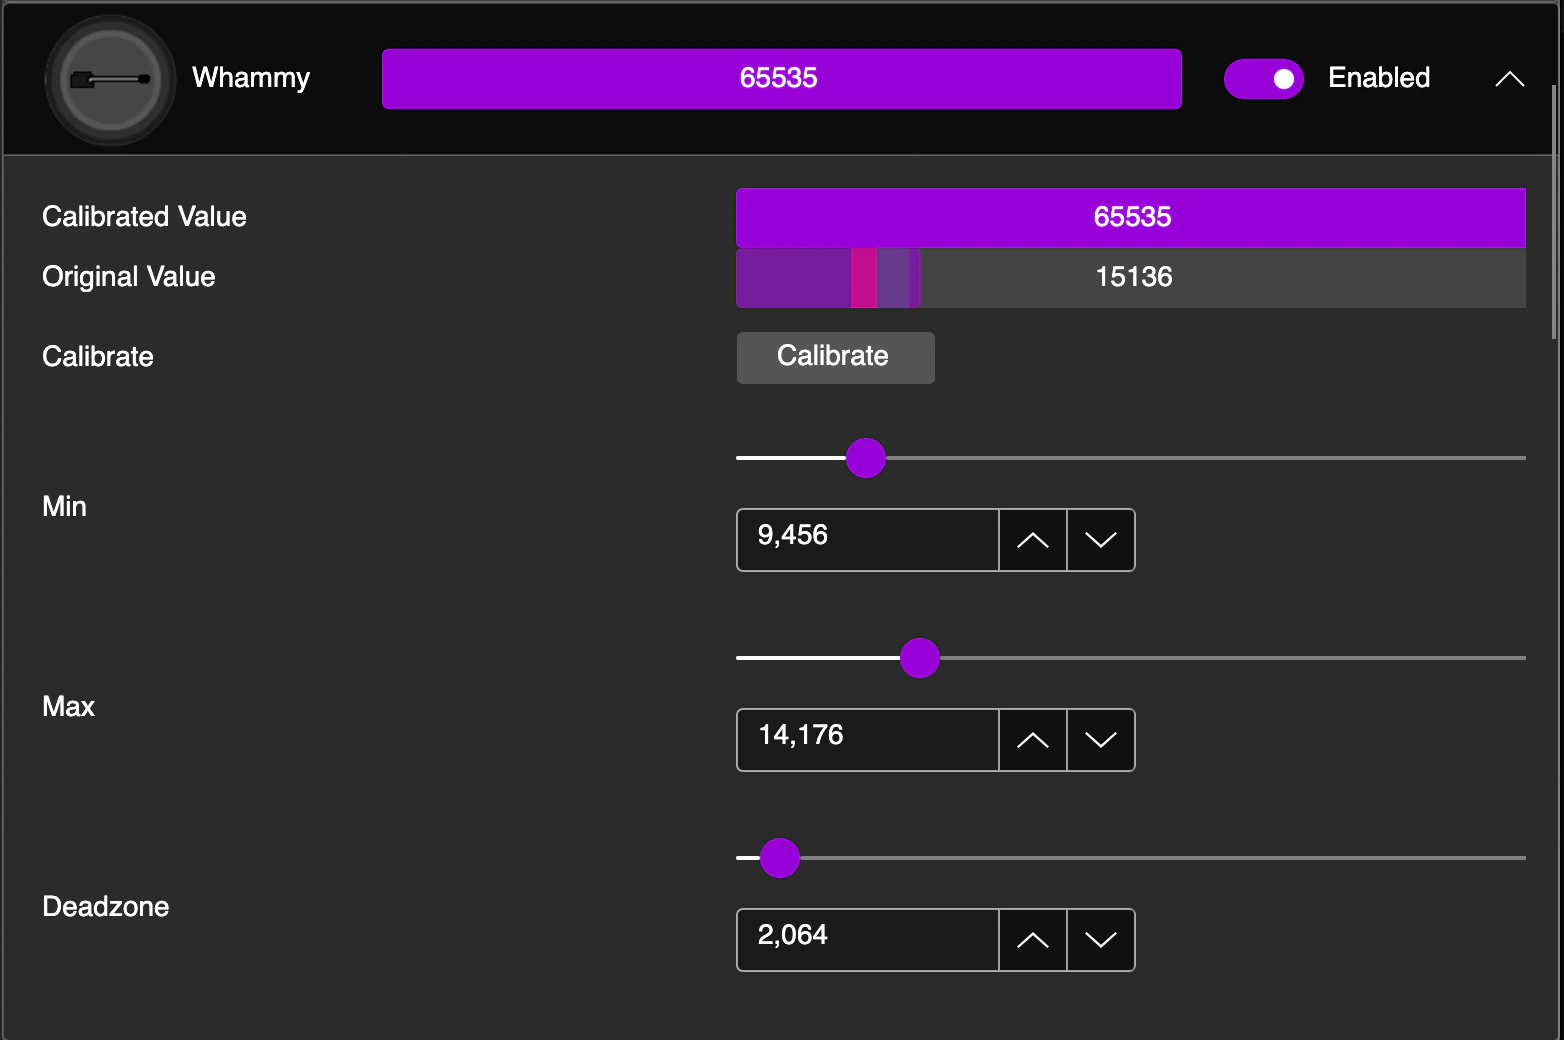
Without touching the whammy bar, click Next. Then, push the whammy bar further in (like furthest activated) without pushing too hard to damage it. Hold it in that position, then click Next.
Now you’re setting the Deadzone. The Deadzone is where the whammy begins activation. So you want to make it to where the whammy cannot actuate unless you intentionally press it inwards. Once you’ve set that, click Next.
Troubleshooting
My Revival Kit is not appearing in the RCM Programming Tool
My Revival Kit is not appearing in the RCM Programming Tool
There are multiple potential reasons for this occurring.
- Your Revival Kit might be going into a different mode during plug-in. Unplug the frets and start/select board, then try to reprogram.
- Faulty USB cable or USB port. Using the same cable, try a different USB port, then switch the cable and try again.
- Lastly, you may just need to hard reset the device. Holding the BOOT/RESET button (small gold button on the Revival Strumboard) while plugging the Revival Strumboard in will put it into recovery mode, which will make a drive named “RPI-RP2” appear on your computer.
Drop this file into that folder.
CLICK HERE TO DOWNLOAD FLASH NUKE FILE
After you drop the file in, open the RCM Programming Tool and attempt to reprogram.
The RCM Programming Tool isn't opening on macOS
The RCM Programming Tool isn't opening on macOS
If you are experiencing the following pop-up, macOS is detecting the RCM Programming Tool as a false-positive for being malware.

The RCM Programming Tool is not seeing my device on Linux
The RCM Programming Tool is not seeing my device on Linux
If the RCM Programming Tool is not seeing your device, it is likely due to a permissions issue in Linux.You will need the following file:
CLICK HERE TO DOWNLOAD\ 68-RCM.rulesNavigate to /etc/udev/rules.d/, then drop 68-RCM.rules into the folder.Once you’ve done that, open the RCM Programming Tool. Your device should appear now! If not, try unplugging and plugging back in.
My Revival Kit is not working in BetterGH3 on SteamOS/Bazzite/Linux
My Revival Kit is not working in BetterGH3 on SteamOS/Bazzite/Linux
Add this to your Steam Launch Options:
WINEDLLOVERRIDES=“xinput1_3=n,b” %command%